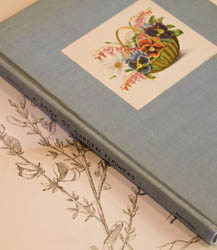
As always, the yearly Friends of the Library book sale was well worth shopping! An out of print cottage gardening book acquired at the sale inspired this project. A revamped window from the many available at the Restore provided the perfect frame for reproductions of the gardening prints. The result: inexpensive art for the home.
Project Instructions
Materials needed:
Reproductions of old prints (check the copyright before reproducing.) Any good copy store can make quality enlargements
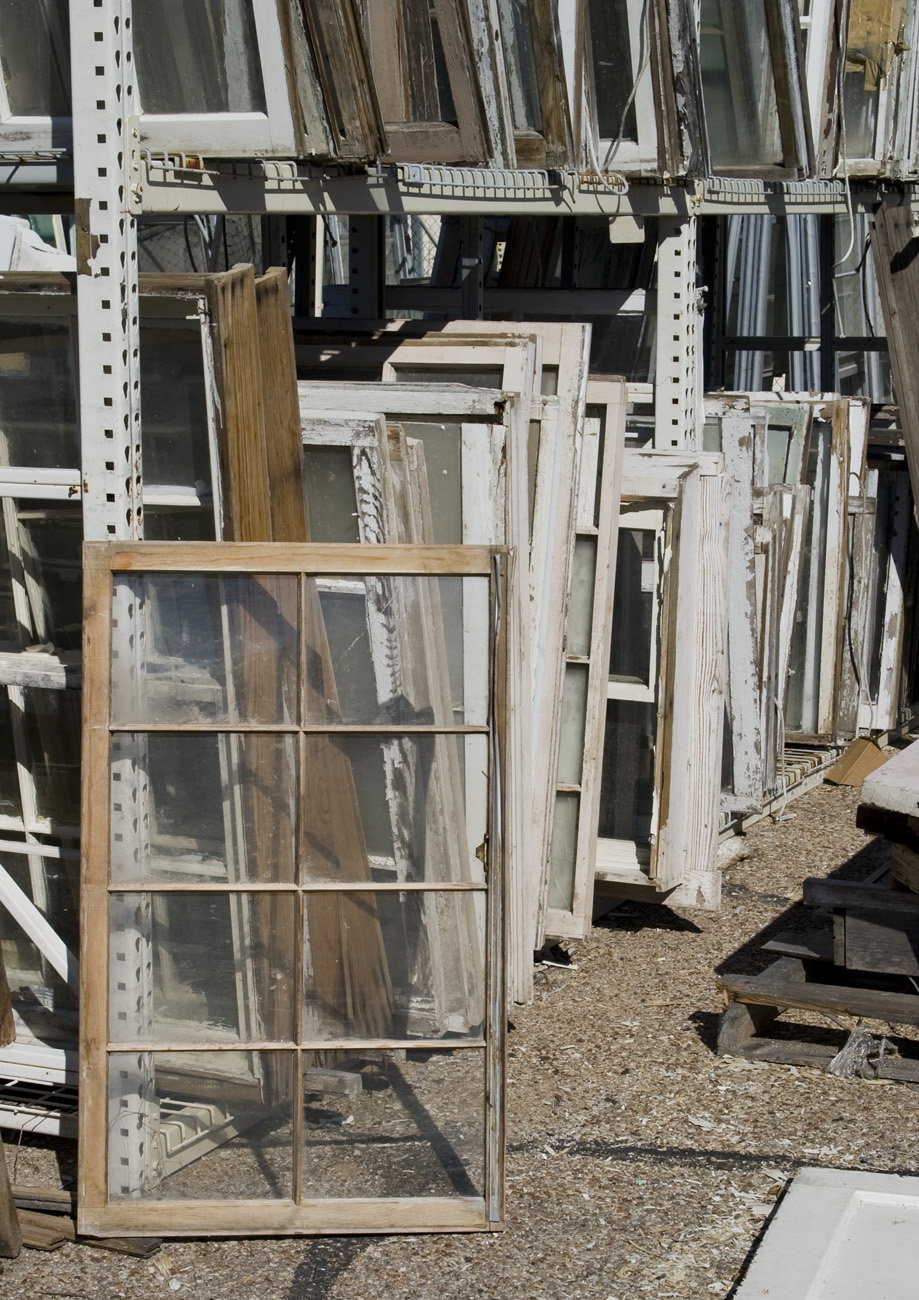
An old wood window (if glass is missing replacements may be made for little expense)
Simple Green and a scrubpad
Milk Paint (Lexington green complimented the foliage of the prints perfectly)
Sponge brushes
Mod Podge
Roller to smooth out air bubbles
Glazing points
Chisel
Putty knife
Utility knife
Needle nose pliers
Briwax
Old cotton rag for buffing
D-rings and picture hooks
Step One
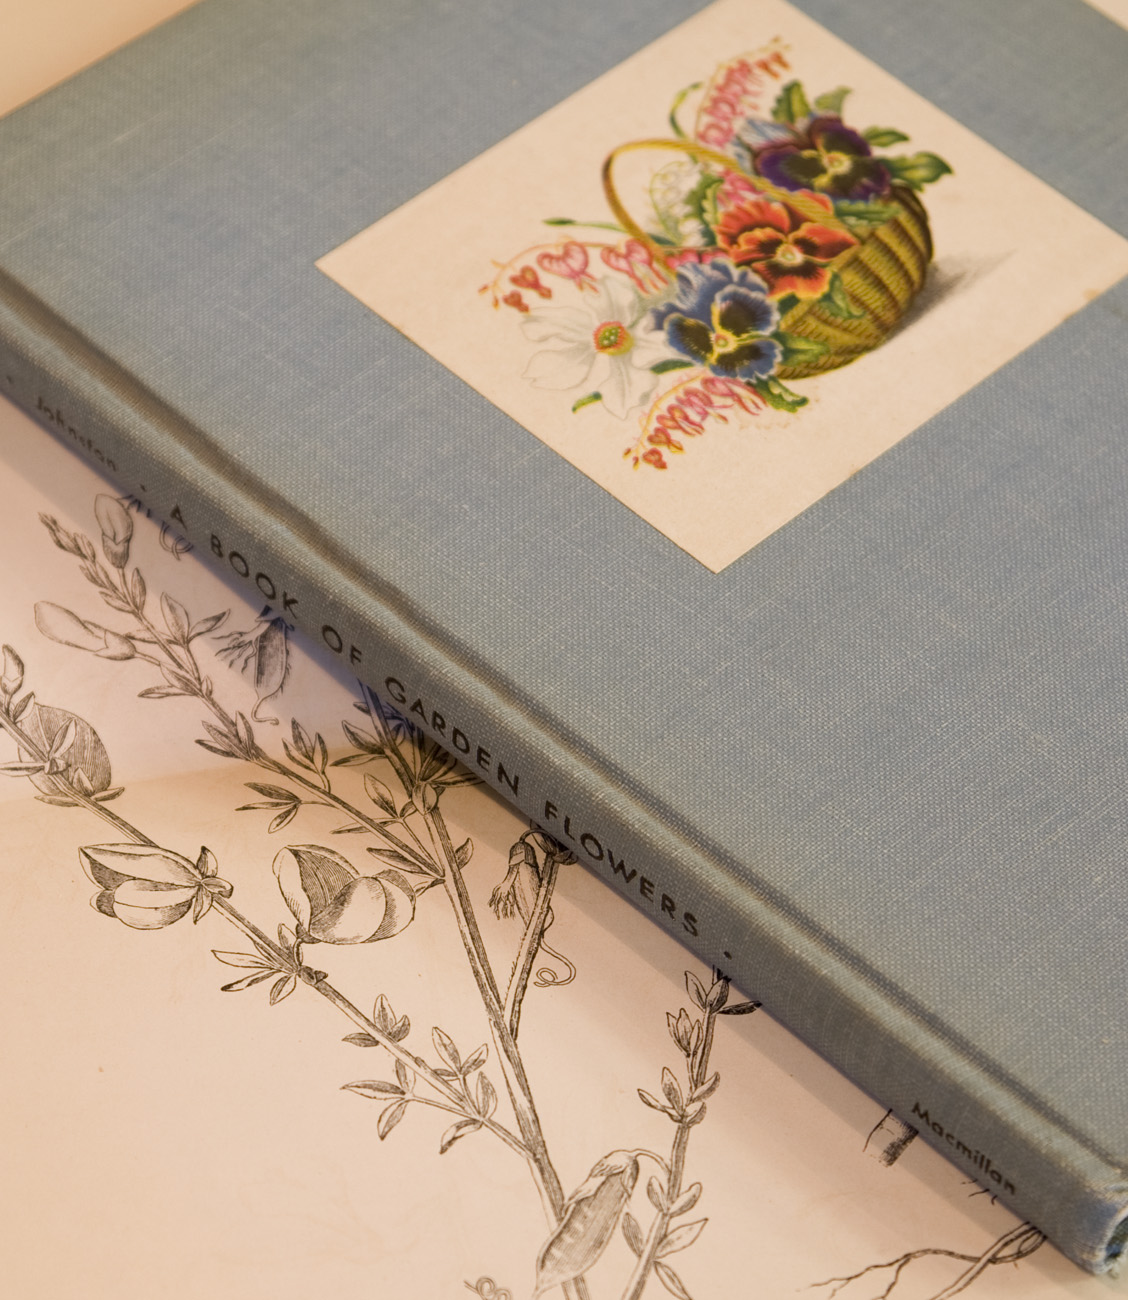
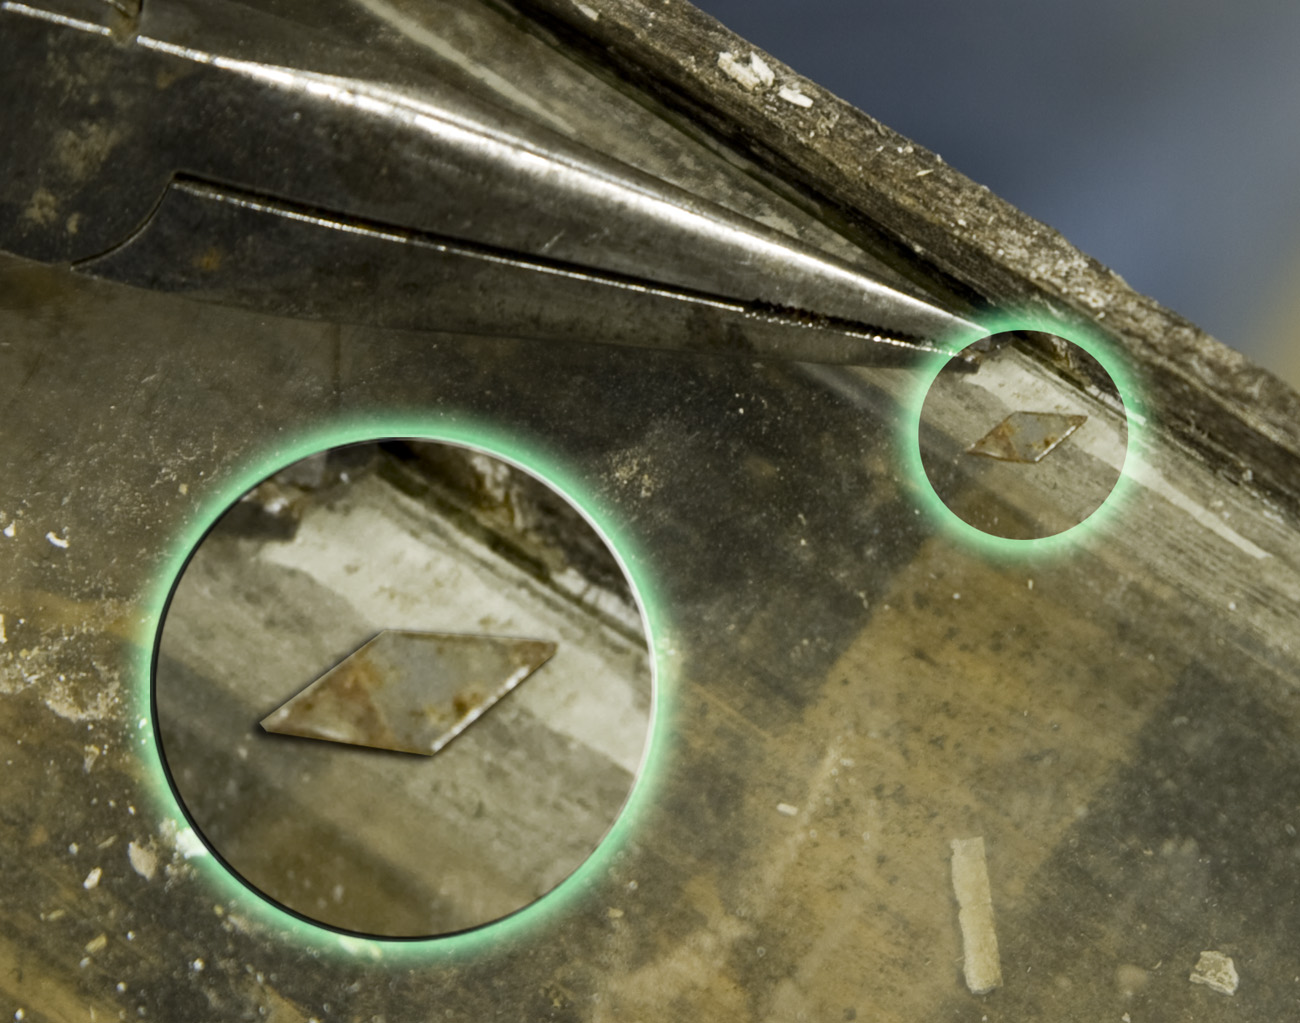
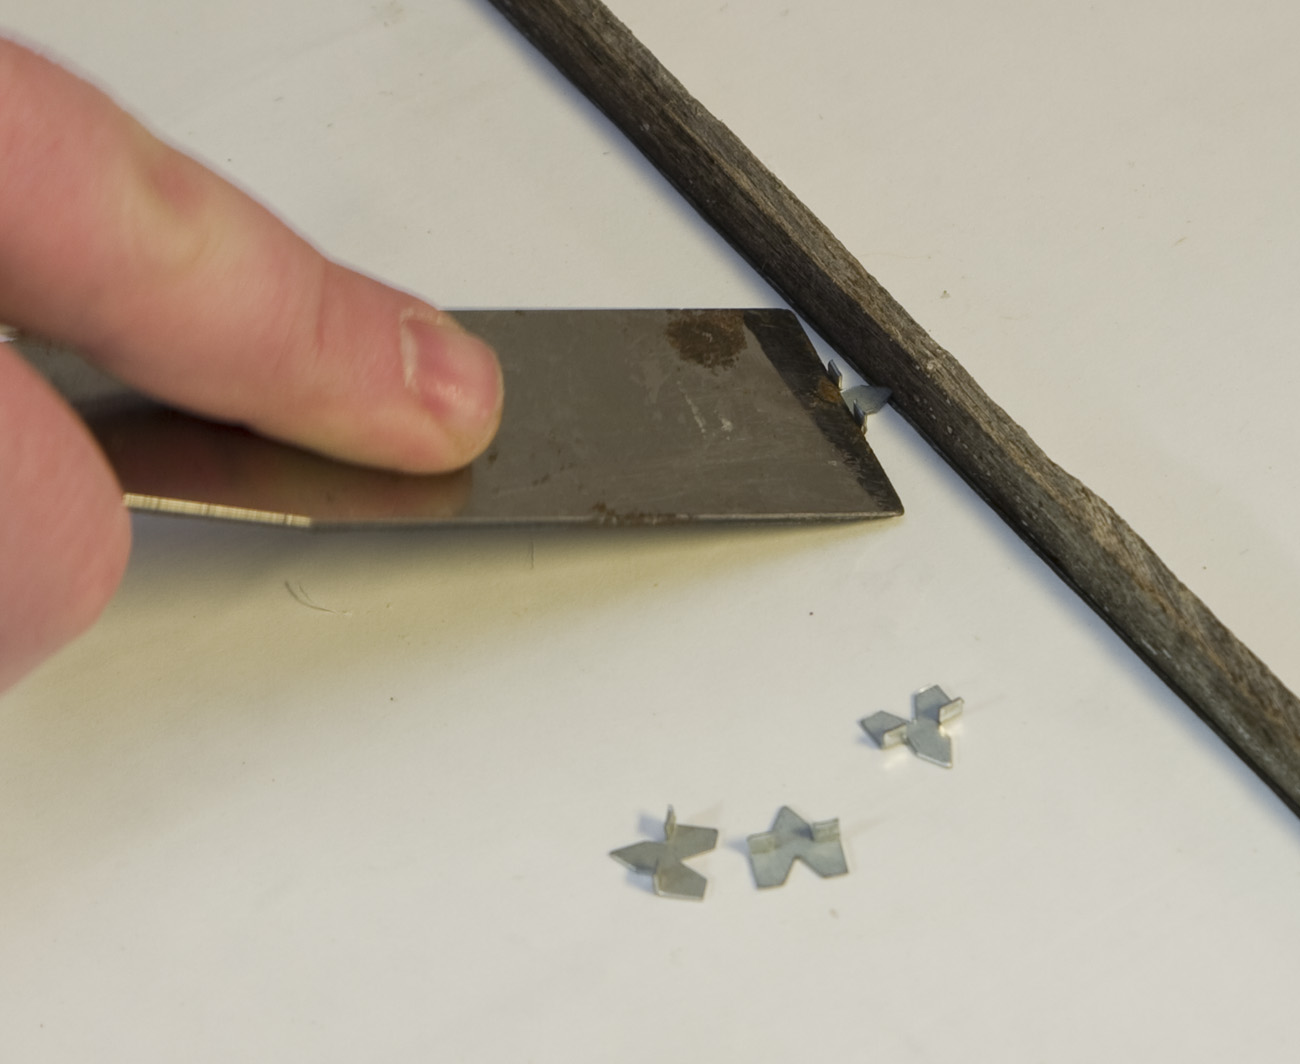
Clean window and remove old glaze, glazing points, and glass. Glazing points may be difficult to see, but it is important to get them all before attempting to remove the glass. Needle nose pliers work well to remove the old glazing points. The old glass may be cleaned and reused; however, it may be easier and less labor intensive to use new glass. Scrub the wood surface thoroughly to remove old dirt and any residual finish.
Step Two
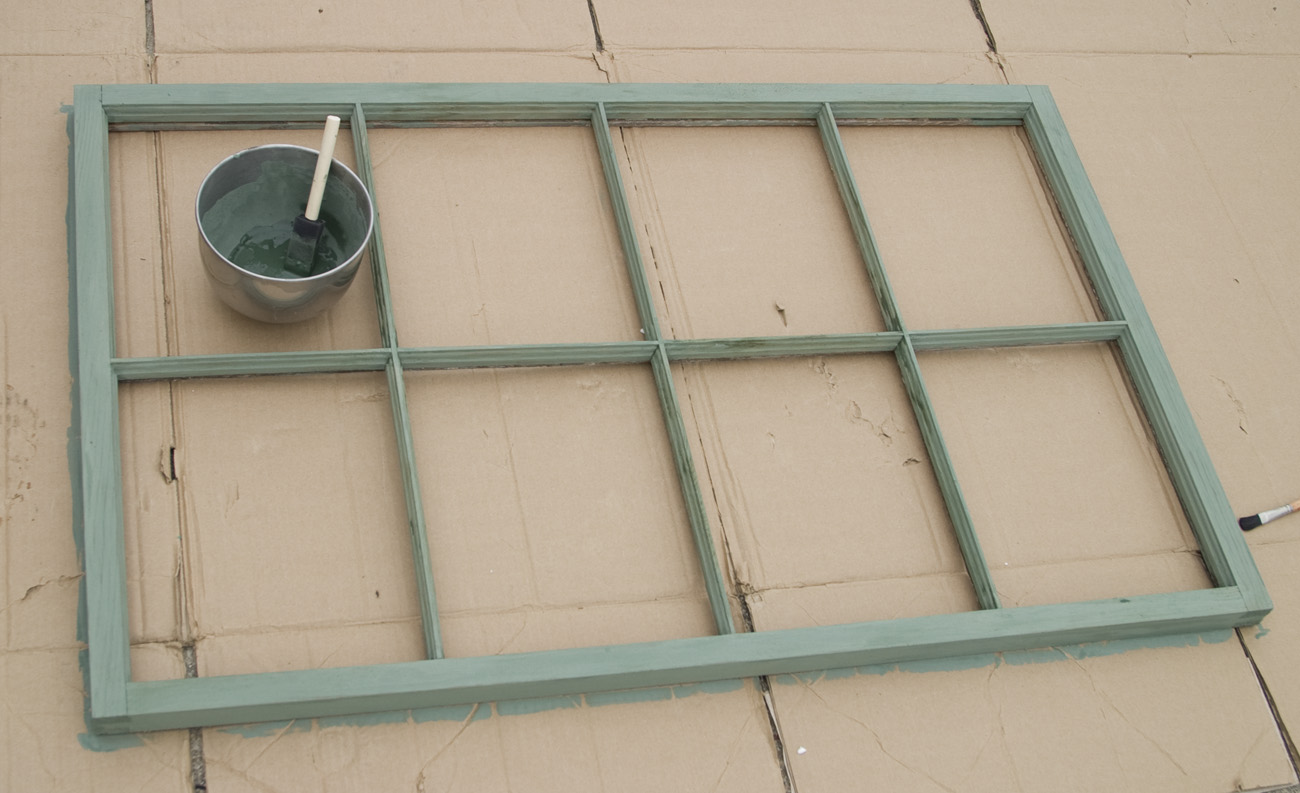
Mix milk paint according to package instructions. Using a 1 to 1 1/2 ratio of paint to water, apply a single coat of the mixed paint with a sponge brush. Make sure all wood surfaces that will be seen are covered thoroughly. Note: it is not necessary to allow the window to dry before applying milk paint, it actually works better when applied to a damp surface. Allow painted window to dry thoroughly, apply a coat of wax with an old cotton cloth, then buff lightly after 10 minutes of dry time.
Step Three
Mount the prints to the glass using Mod Podge. Trim all prints to pane size. Place glass over print and trim around perimeter using a sharp utility knife. One pane at a time, apply Mod Podge with a sponge brush to glass surface using vertical strokes, then apply Mod Podge to the print surface using horizontal strokes. When both surfaces are thoroughly covered, press print face to glass surface. Starting in the middle of the print back, use a metal roller to smooth the surface. Apply pressure and roll to the edges of glass, always working from the middle. There should be no buckling, wrinkling or bubbling. The Mod Podge will have a white, hazy appearance, but it will dry crystal clear. When print is firmly affixed to glass surface, apply a coat of Mod Podge to the back of print. Repeat with all prints. Allow print to dry thoroughly.
Step Four
Insert print/pane into the back side of the window. It may be necessary to run a razor knife along the edge of pane to remove excess dried Mod Podge and paper before the prints will fit into the old window frame. Take time to determine the arrangement of the prints in the frame before securing them. Secure prints using new glazing points on all sides. Attach D-rings, hang from picture hooks, and enjoy!


 Mix milk paint according to package instructions. Using a 1 to 1 1/2 ratio of paint to water, apply a single coat of the mixed paint with a sponge brush. Make sure all wood surfaces that will be seen are covered thoroughly. Note: it is not necessary to allow the window to dry before applying milk paint, it actually works better when applied to a damp surface. Allow painted window to dry thoroughly, apply a coat of wax with an old cotton cloth, then buff lightly after 10 minutes of dry time.
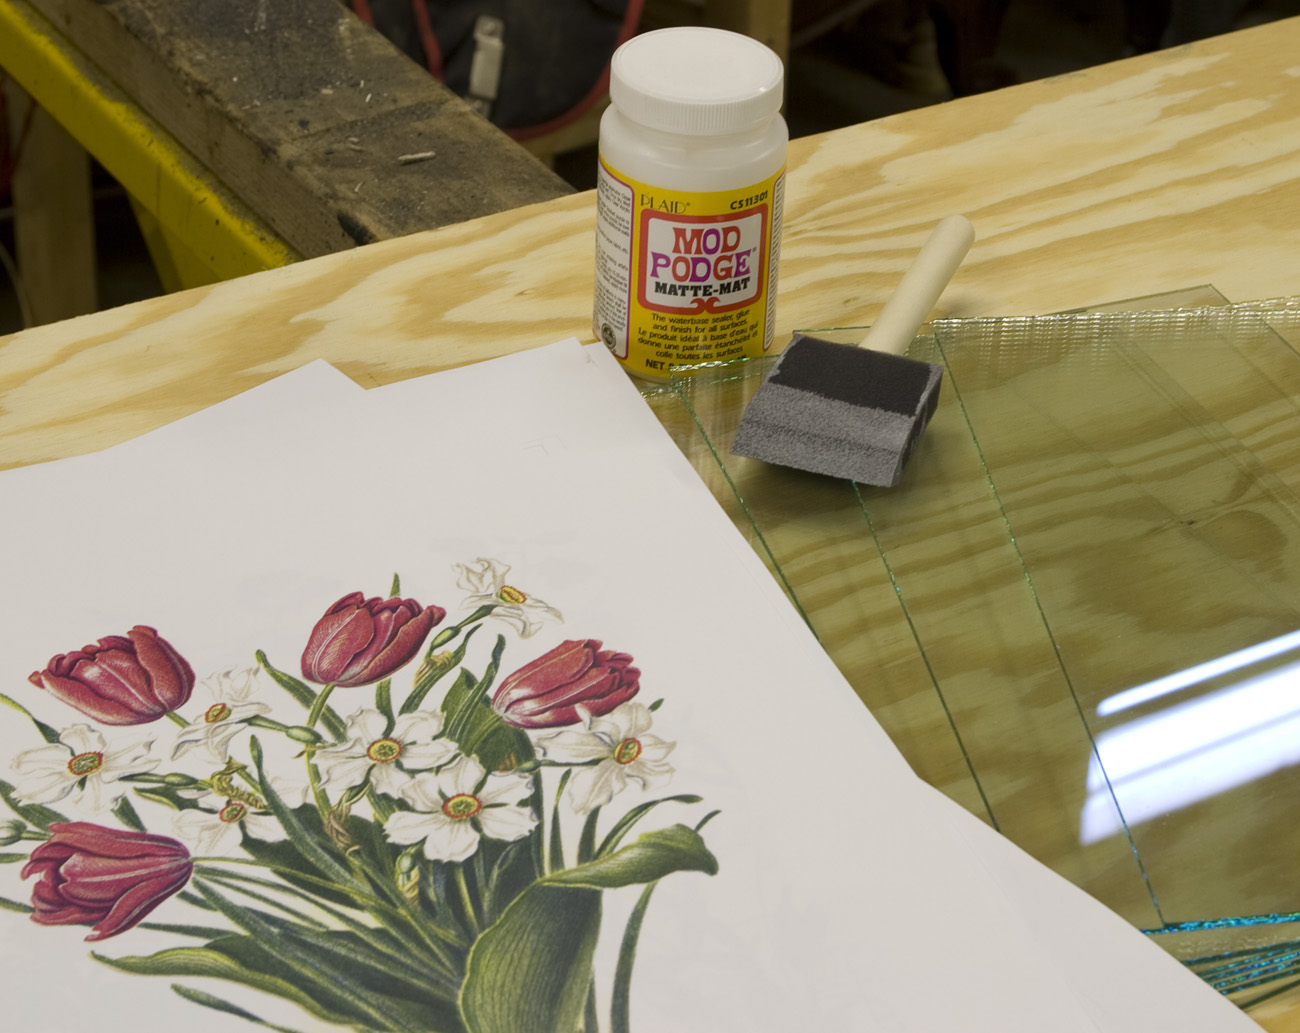 Mount the prints to the glass using Mod Podge. Trim all prints to pane size. Place glass over print and trim around perimeter using a sharp utility knife. One pane at a time, apply Mod Podge with a sponge brush to glass surface using vertical strokes, then apply Mod Podge to the print surface using horizontal strokes.
 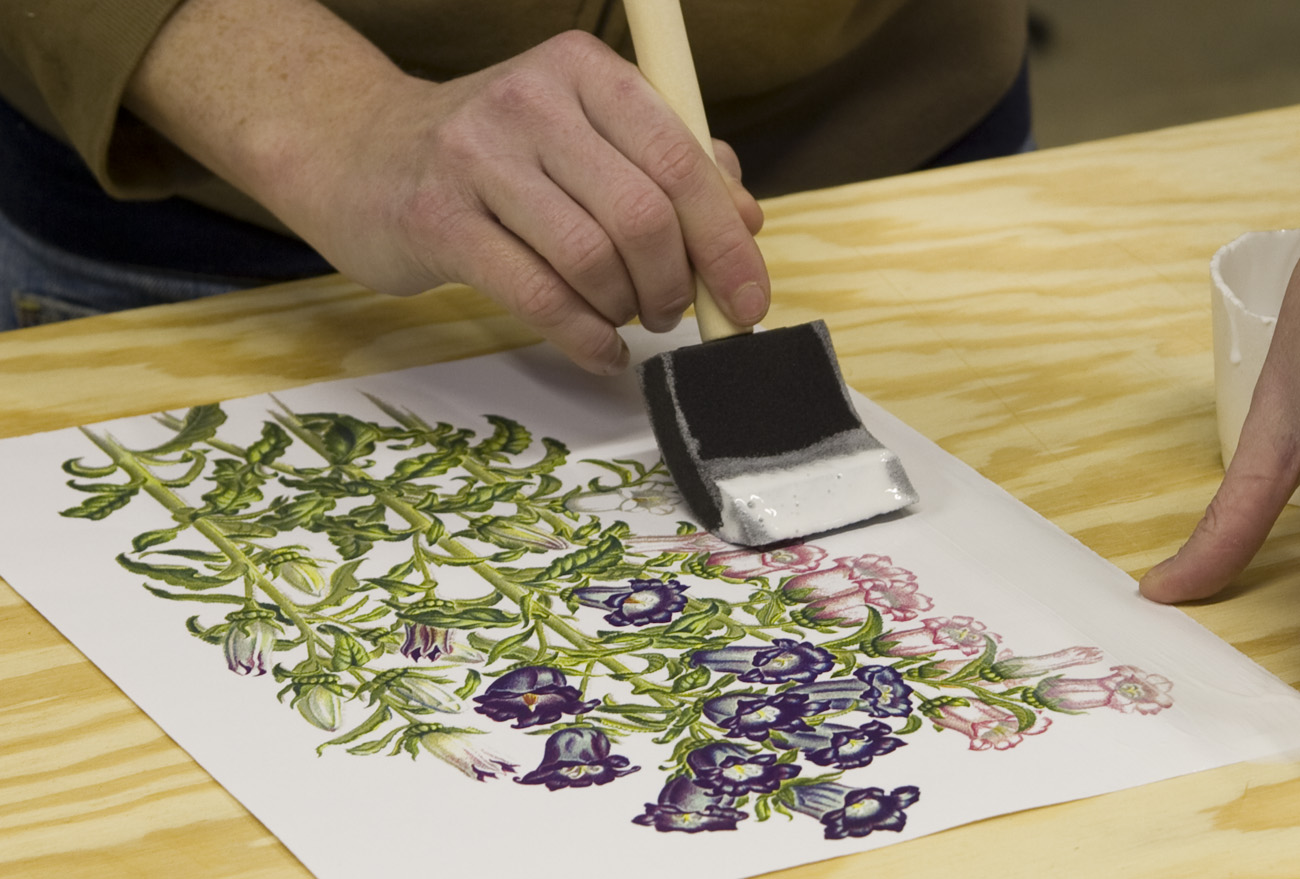 When both surfaces are thoroughly covered, press print face to glass surface. Starting in the middle of the print back, use a metal roller to smooth the surface. Apply pressure and roll to the edges of glass, always working from the middle. There should be no buckling, wrinkling or bubbling. The Mod Podge will have a white, hazy appearance, but it will dry crystal clear. When print is firmly affixed to glass surface, apply a coat of Mod Podge to the back of print. Repeat with all prints. Allow print to dry thoroughly.
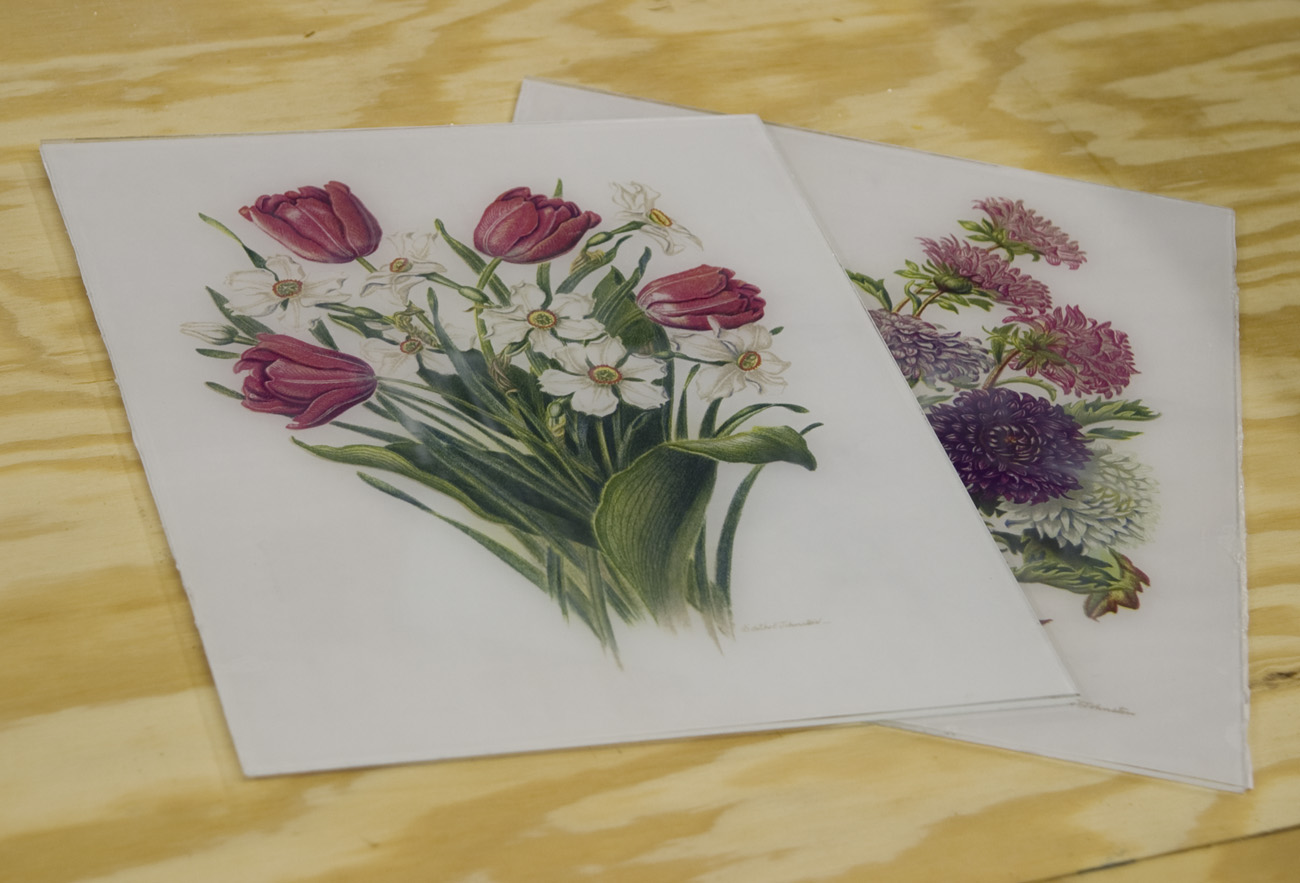
 Insert print/pane into the back side of the window. It may be necessary to run a razor knife along the edge of pane to remove excess dried Mod Podge and paper before the prints will fit into the old window frame. Take time to determine the arrangement of the prints in the frame before securing them. Secure prints using new glazing points on all sides. Attach D-rings, hang from picture hooks, and enjoy!