Drawer side table and shelves
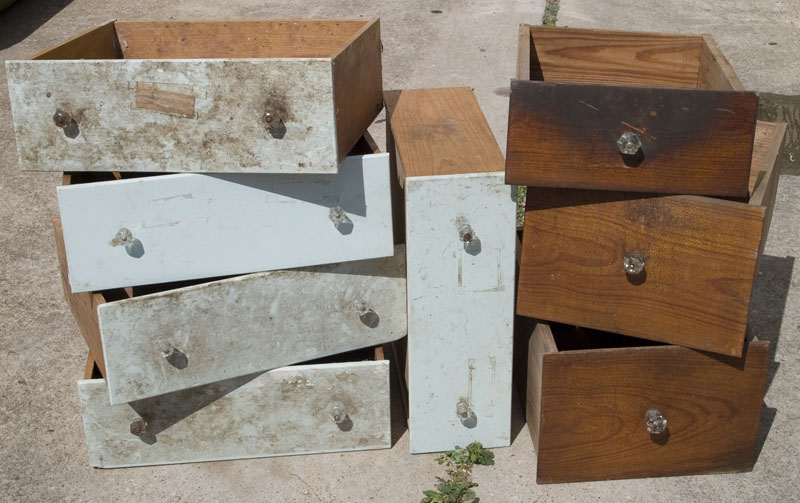
What can be done with a stack of old drawers? With little effort, a set of three found at Restore become a unique side table providing storage. Another grouping, acquired at Historic Waco Foundation’s yearly Attic Treasures rummage sale, transform into a wall-mounted vanity.
Project Instructions
Materials needed:
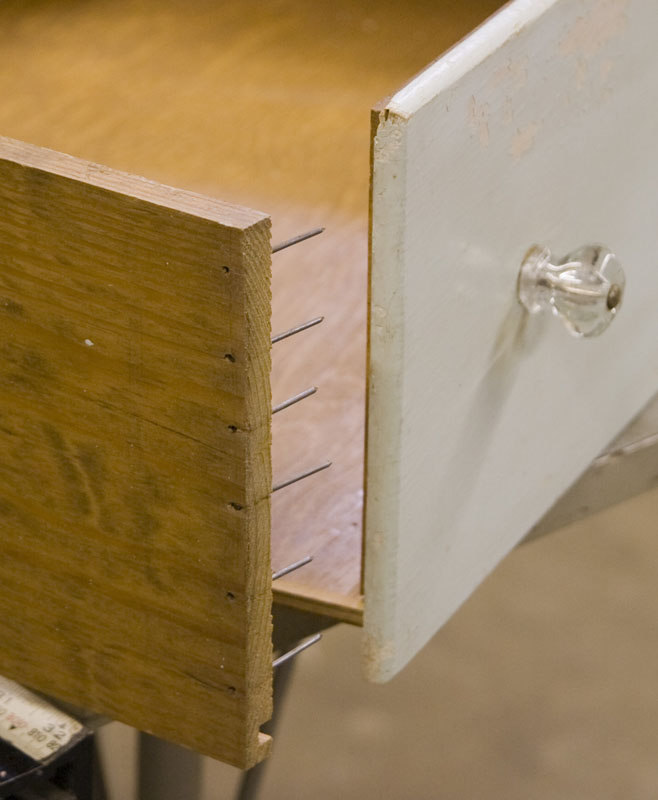
- Various drawers—solid wood are best
- Simple Green, Scotch-Brite
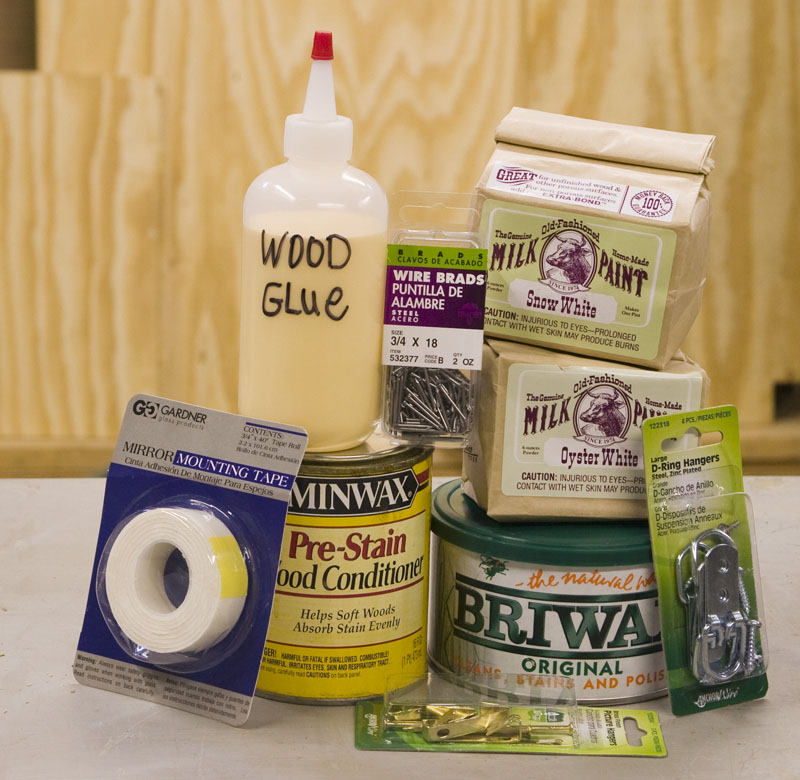
- Milk paint, sponge brushes, stir sticks
- Mirror tape, “D” ring hangers, fifty-pound picture hooks
- Wood conditioner
- Briwax, 0000 steel wool, cotton rag
- Wood blocks, finish nails, wood glue
- Mirror cut to size
Prepare all drawers by washing with simple green. Wash carefully if painted finish on drawer face is to be preserved. Make sure all surface dirt and grime are gone. Allow 24 hours dry time before proceeding with other steps. Note: All-wood drawers with old finish may need a light application of stripper to remove “scaling” or “pebbled” varnish. However, waxing over the old finish can produce an interesting effect.
Simple stacked-drawer side table:
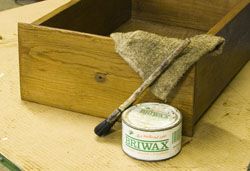
- After cleaning all wood drawers, apply a coat of Briwax in the desired color with 0000 steel wool. Read and follow the Briwax instructions; adequate ventilation is required for use of this product.
- Allow 15 minutes of dry time, then buff with a cotton cloth.
- A second application of wax may be necessary after 24 hours if the wood is extremely porous. Allow 48 hours cure time after final coat of wax.
- Buff again lightly to make sure wax has cured totally—the rag should be clean.
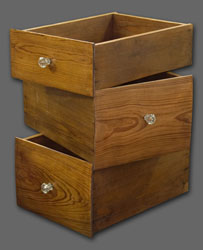
- Stack drawers and use as a stylish side table with storage for magazines and other living room clutter.


Wall-mounted drawer vanity:
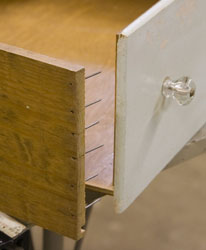
- Design the wall layout of the drawer vanity first. Choose the drawer to hold the mirror and decide which drawers will be storage. The divided drawers were the obvious choice to become shelves for this project, while the knobs from two extra drawers were combined to create a jewelry hanger below the vanity mirror.
- Measure inside area of drawer to hold mirror and have mirror cut to size. Do this before starting the other steps, so the mirror will be ready when the project is finished.
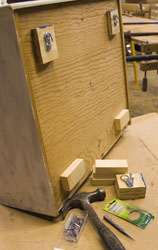
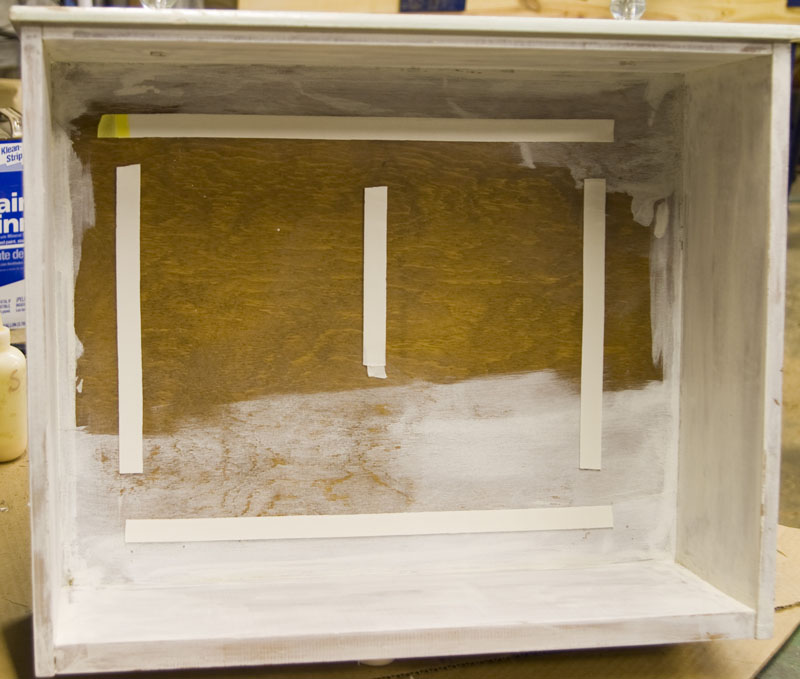
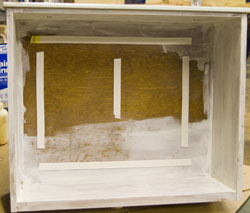
- Install wood blocks to backs of drawers. Half-inch blocks at the top and 3/4” blocks at the bottom of each drawer were perfect to allow drawers to hang evenly. Space blocks two inches away from the edges of drawers so they are not visible when drawers are hung. Attach blocks using wood glue and finish nails from the inside of the drawer out. This method will provide the strength necessary for hanging the drawers since drawer bottoms are usually thin.
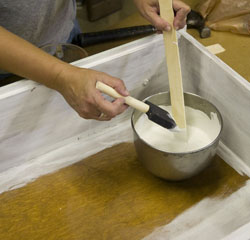
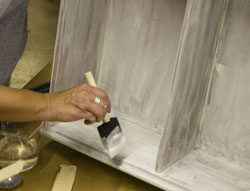
- Allow wood glue to dry 24 hours before attaching D-ring hangers to upper blocks. Paint all visible bare wood of drawers with milk paint. Two thinned coats are better than one heavy coat. Follow package instructions and tips for mixing and applying. Milk paint should dry for at least 24 hours before sanding lightly with Scotch Brite.
 One drawer at a time: Apply a coat of wood conditioner to all drawer surfaces, including the peeling paint. Wipe after fifteen minutes. Immediately apply a coat of clear Briwax. Buff after ten minutes dry time. This step is very labor intensive and it is very important to finish one drawer before starting another. When all drawer surfaces are finished, attach mirror to back of chosen drawer using mirror tape. Hang drawers in preplanned grouping using fifty-pound picture hooks or other suitable load bearing hangers. Stock drawers as shelves and enjoy!